Mini-Lakes: A Long-Term Investigation
| Investigation | What students do with the mini-lake | How students use mini-lake data to track transformations of matter |
|---|---|---|
| Inv. 1 | 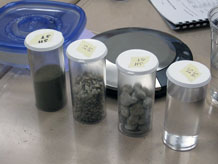 Measure weight of materials: sand, gravel, rocks, water, container and top
 |
Understand that weight is a reliable indicator of gains or losses of matter in the mini-lake system Understand that in a closed system nothing is added and nothing is taken away Seek explanations for any changes in the weight Plot data points on line graph to make a picture at tells the story of change in weight over time Use measurement to calculate the amount of salt added Track rate of evaporation Reason about how they will know when all of the water has evaporated that only water evaporates and solid matter is conserved |
| Inv. 2 |
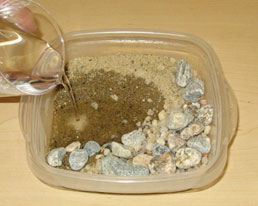 Measure volume of mini-lake materials
Build mini-lakes 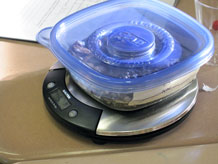 Weigh mini-lake and record measurements in a data table
|
|
| Inv. 3 |  Compare heaviness-for-size of water and sand (For water: 1g=1cc)
 |
|
| Inv. 4 | ||
| Inv. 5 | 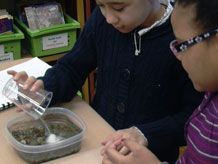 Transform mini-lakes to salt lakes
 |
|
| Inv. 6 | ||
| Inv. 7 | 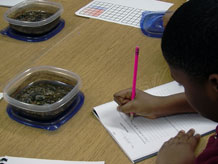 Uncover the mini-lake thus changing from closed to open system Uncover the mini-lake thus changing from closed to open system |
|
| Inv. 8 | ||
| Inv. 9-16 | 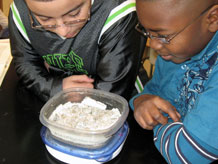 Continue to collect and graph weight data until all the water has evaporated (weight of solid materials is conserved) Continue to collect and graph weight data until all the water has evaporated (weight of solid materials is conserved) |
|
| Inv. 17 | 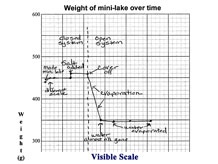 Recognize that the line graph represents changes in their actual mini-lakes over time Recognize that the line graph represents changes in their actual mini-lakes over time |
Annotate the mini-lake graphs to “tell the story” of transformations of in the mini-lake over time Use the particle model to explain dissolving salt and evaporation of water |